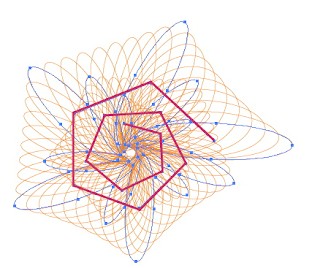
I was looking at tutorials for Adobe Illustrator and stumbled on THIS ONE. I thought it was cool because it looked simple and easy, but still really cool at the same time.
I actually tried to make one myself, but I messed up halfway through, and being the middle of the night, I don't really want to try again... but I took one screen shot of the beginning:

So basically, you start with a shape, i.e. a circle or a square. Then you select it and go to Effect>Distort & Transform>Transform, and either look at the adjustments in my picture or the tutorial's preview
One you've got your shape, you drag it into the GRAPHIC STYLES window. The cool part after this is you can make a different simple shape like a square and click on the style, and then it will look like the picture on the left, in square version.
The next step is to expand the object you just styled: Object>Expand Appearance, then un group (ctrl+shift+g) the resulting shapes.
 After, double click the blend tool and type in a number in the "specified steps" field.
Now, Ctrl-Opt-B with everything selected to make the blend, and it should turn out something like as seen on the left.
 And you should be able to see the path I highlighted in pink; it can be changed to a straight or curvy line. Draw the line and then go to Object>Blend>Replace Spine, and if you go to the tutorial, you'll see the final image.
Thanks for reading! I'll be back soon:)
No comments:
Post a Comment